The bulk of today's electronic devices use the 16:9 screen aspect ratio. But what if you have a collection of great spectacular 4:3 photos? Stretching them over a 16:9 desktop isn’t a good idea, neither it is easy to fix the problem using a graphic editor, well, at least if you aren’t a professional designer.
With iResizer you can achieve the best results in minimum time and efforts. Practically, you only need three simple steps to change the aspect ratio of an image without distortion.
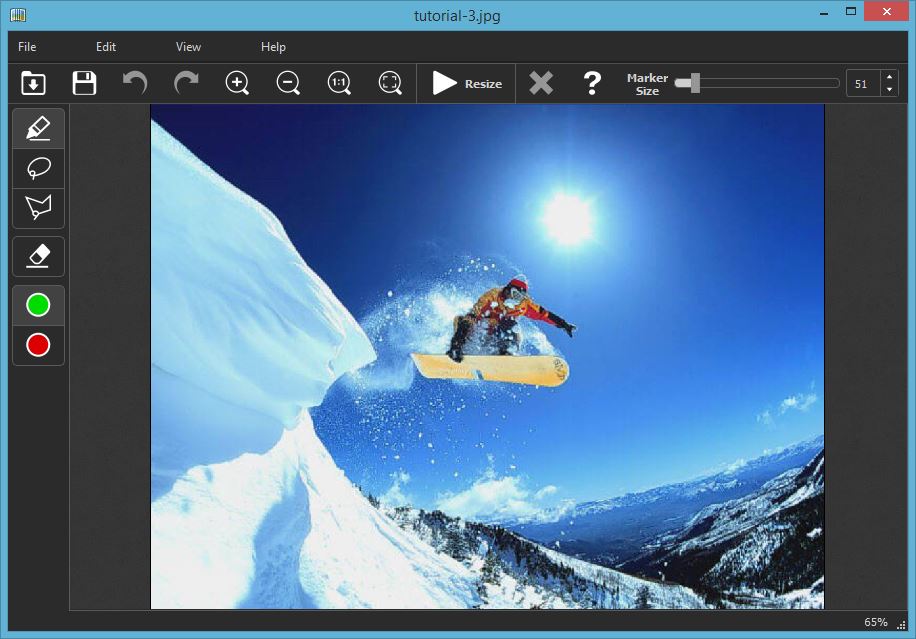
Step 1: Load the image to iResizer
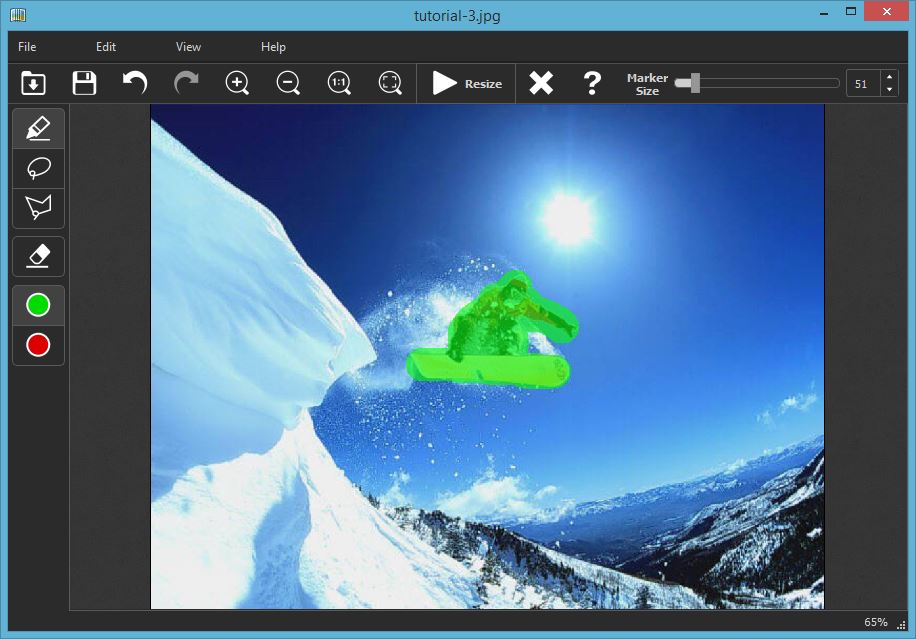
Step 2: Select objects on the image you want to protect from distortion
Select the green marker tool on the toolbar (the green circle) and mark a snowboarder to indicate this part of the image should stay non-scaled. Please note, for precise selection you can adjust the size of the marker using the slider on the toolbar.
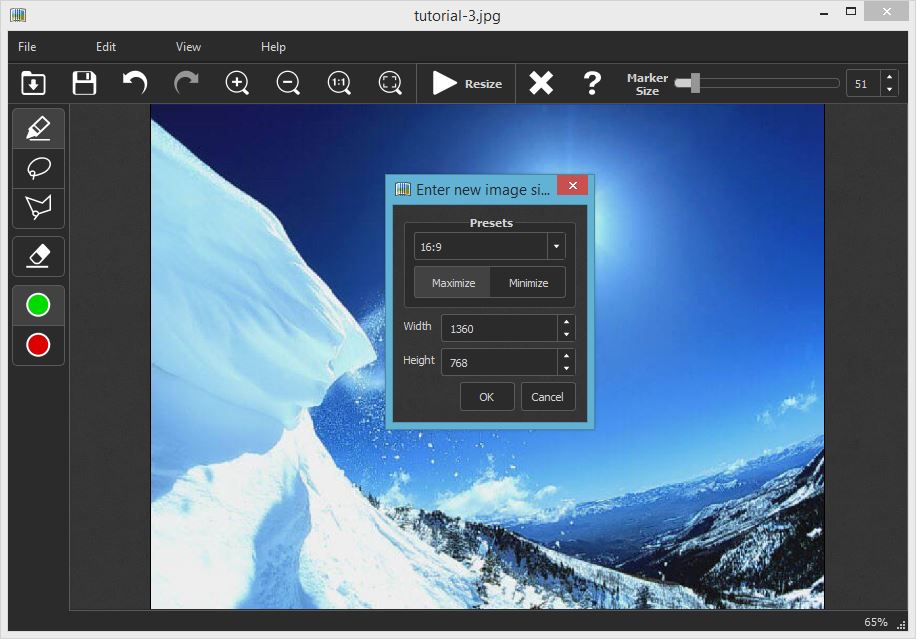
Step 3: Change the aspect ratio
Now run the process and select the desired aspect ratio of the output image in the dialog window. In our case we want to turn our snowboarder photo from 4:3 to 16:9 format, so simply select the 16:9 option and click OK.
You have two option to get desired aspect ratio: 'Maximize' and 'Minimize'. Maximize option will enlarge image size to required aspect ratio, and Minimize will decrease image size.
Step 4: Enjoy!
A smooth, well-scaled 16:9 photo now adorns your collection! And with iResizer you can easily remove unwanted people from your photo or change spacing between objects as well.
